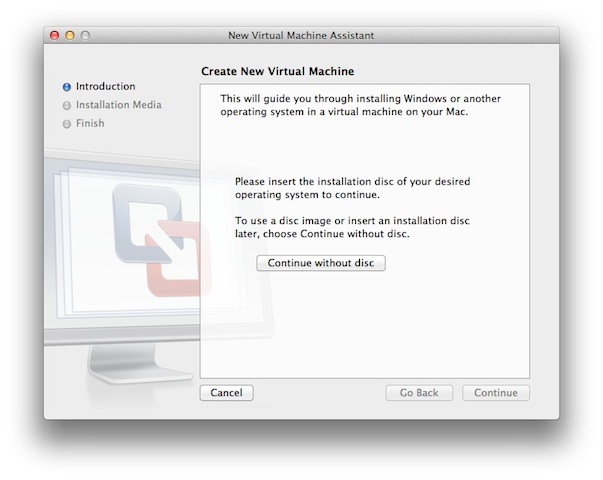
Open VMware, and click File ➤ New to create a new VM.
At the first screen, click Continue without a disk...
Build a UCM in VMWare
You can build a functioning CS1000 Unified Communications Manager (UCM) on a Mac in VMWare. Perhaps it's a bit academic, or even pointless, but it's a good way to get comfortable with loading, building and patching the Avaya Linux Base on a wet Sunday afternoon.
Remember the (7.5) Linux Base is essentially Red Hat 5, and requires:
- 40GB Hard drive
- 2048MB RAM
- 2 ethernet adapters
- Optionally 2 cores (but one works fine)
If these requirements are not met, the installer will notify you and quit, so they must be set up correctly in the virtual machine environment first (steps 7-10 below). Note that in VMWare the hard drive is an auto-expanding file, but set to 40GB. A full installation with patching will take about 16GB of real disk space. When you're finished, just delete the virtual machine to reclaim this space.
You also need to have an active network connection on the same network as your UCM. Open the network preference pane, hit the plus sign, from the drop down choose an active interface (indicated green) and click Create. Now select your new interface and edit the IP address to put your Mac on the TLAN network. Click Apply.
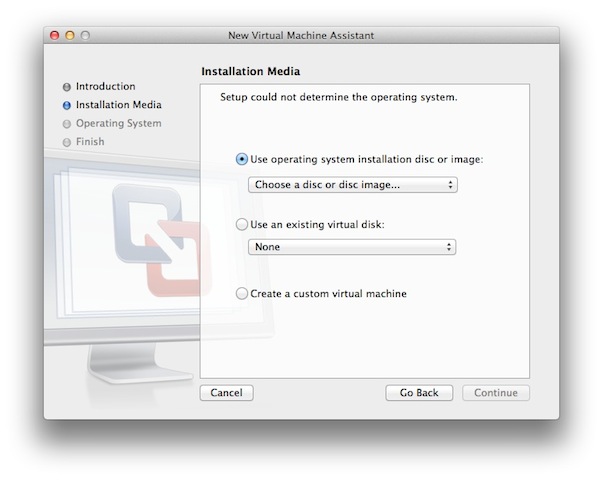
Click on Choose a disk or disk image. From the open file dialog,
browse and select the CS1000 Linus Base ISO image file.
browse and select the CS1000 Linus Base ISO image file.
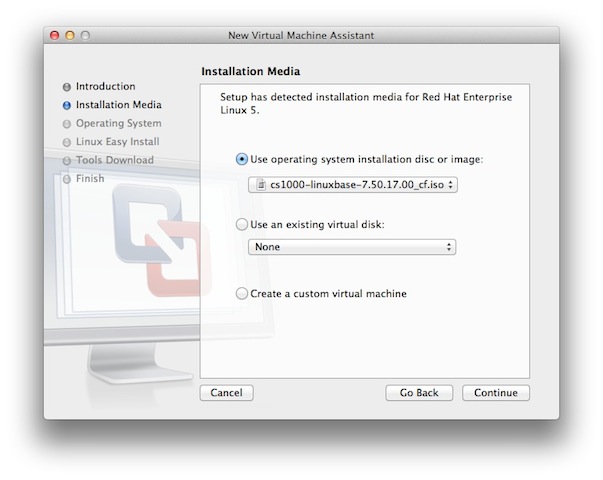
With the CS1000 Linus Base ISO image selected, click Continue.
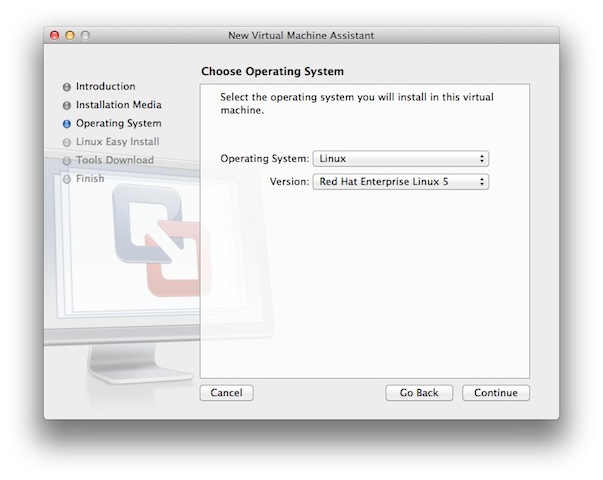
The ISO image is now recognized as being Red Hat 5, click Continue.
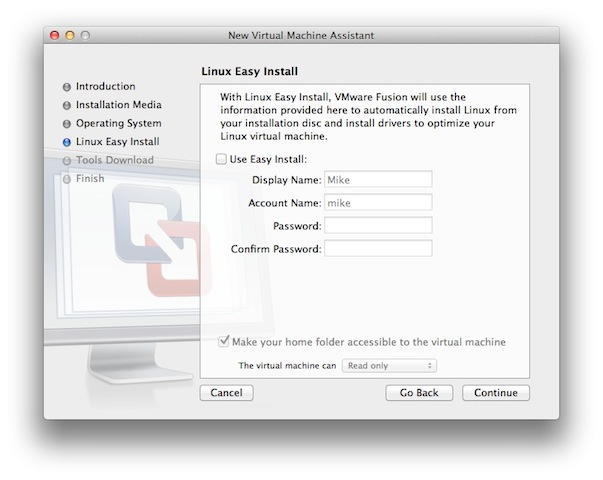
Uncheck Use Easy Install, we do not want this, and click Continue.
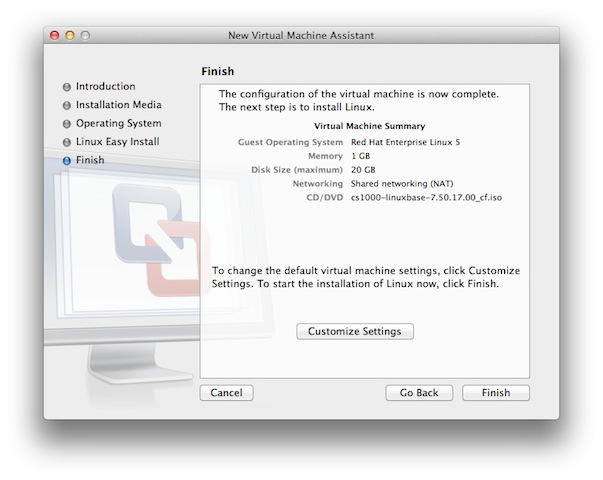
Here will will Customize Settings, and save our virtual machine.
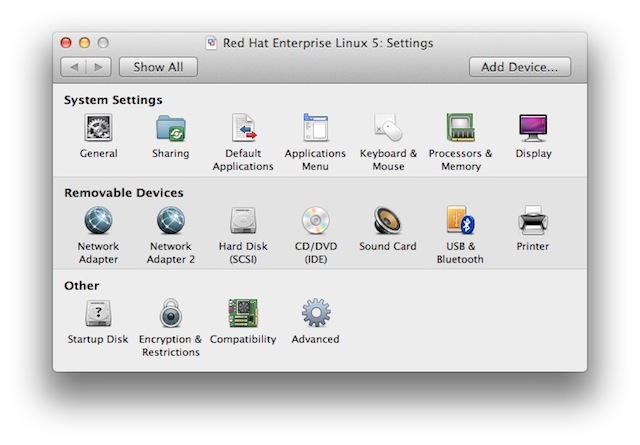
Open the Settings panel, and on the right click Processors...
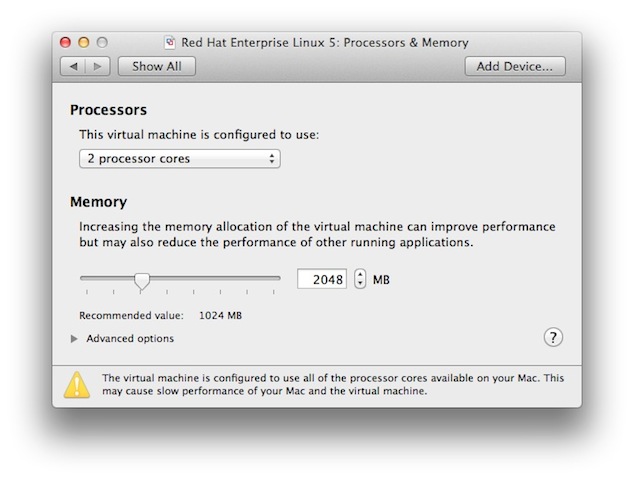
Set the memory to 2048, optionally set 2 cores (for total CPDC compatibility)
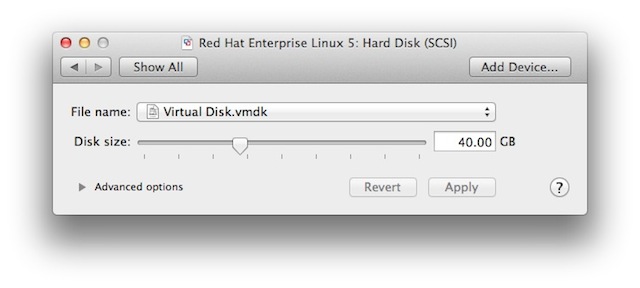
Click on Hard Disk, and set the size to 40 GB
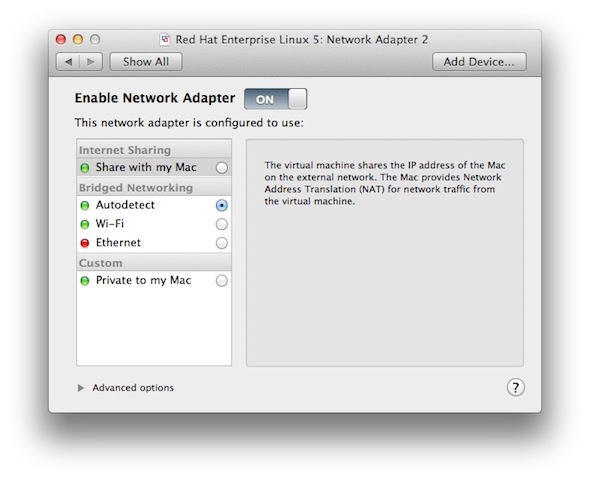
Click the top right Add Device, and add a Network adapter as we need two.
One for ELAN, one for TLAN, and at least one needs to be active (linked).
One for ELAN, one for TLAN, and at least one needs to be active (linked).
Finish, and let your virtual Linux machine boot to the install screen.
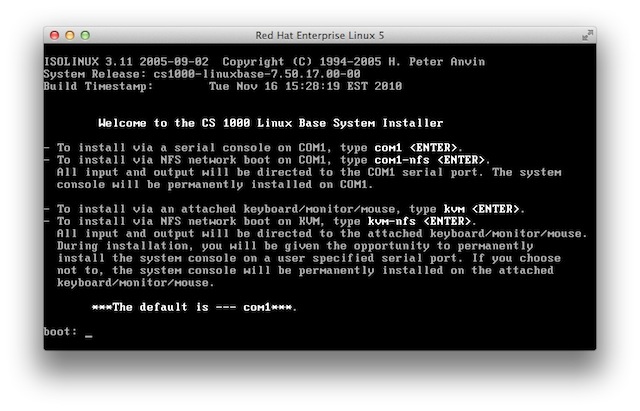
At the boot: prompt, enter kvm as we are on the console.
At the boot: prompt, enter kvm as we are on the console.
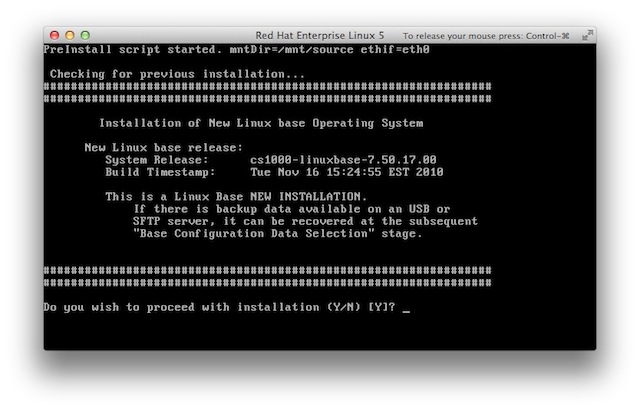
Of course we want to proceed, yes! Press enter.
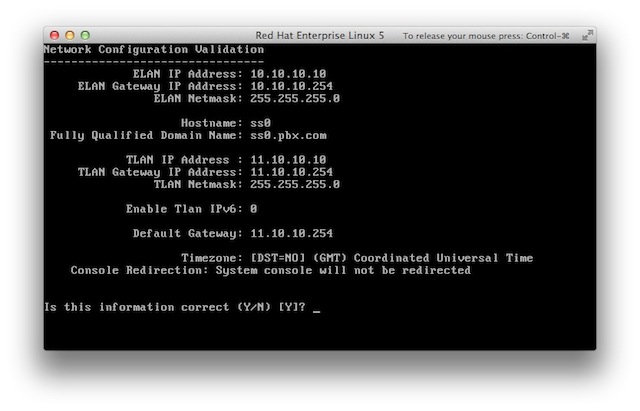
Enter the familiar ELAN/TLAN IP addresses, and linux passwords.
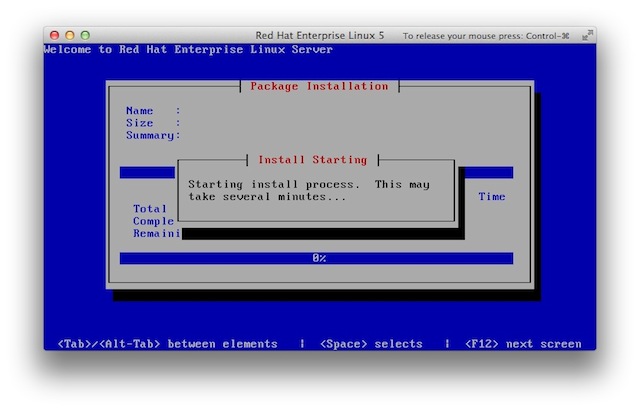
The Red Hat installer does its thing.
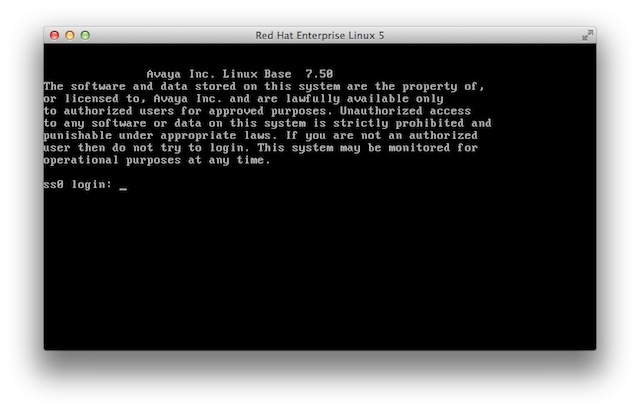
Finally, we will be presented with a login screen.

Browse to the TLAN IP address with Chrome, and the UCM should appear. A physical connection, or external hardware, is not required. Login, complete the security configuration, and upload the patches & service pack.
Edit the local hosts file in order to browse to the FQDN (fully qualified domain name). Note, if you browse to the element's IP address you will get the "local login", if you browse to the FQDN, you will get the "Base Manager" - after the primary security server is built.
Show/hide , click thumbnail to open.