IP Office Server Edition Installation

Preparation:
1. Install latest Manager on Admin PC, eg: Version 11.1.2.4.0 Build 18, and upgrade all IP500V2 SD cards to latest version...

- Put the IP Office SD card(s) in a reader connected to the PC.
- In IP Office Manager: File → Advanced → Recreate IP Office SD card → IP Office A/mu-Law
2. Create a USB installer (16 or 32GB) with the "Avaya USB Creator" program.
- Select ISO File, eg: "abe-11.1.2400-18e17.iso"
- Select Target USB Drive, eg: D:
- Select Installation Mode = "Server Auto Install" (NOT upgrade)
- Click Start
3. Boot Dell R640 server from USB stick (requires change to BIOS boot sequence, F11 = Boot Manager), and let the Avaya installer do its thing! This takes approximately 30 minutes... Repeat for second server (if supplied).
- LAN1/LAN: 192.168.42.1 (Yellow)
- LAN2/WAN: 192.168.43.1 (Green)

Note: Servers and Gateways start with the same default IP address (192.168.42.1). To avoid IP conflicts, initial configuration should be done with a direct connection. Test connectivity with PING first!
Server Config:
1. "Ignite" (initialise) the primary:
- Open a web browser on a PC on the same network as server.
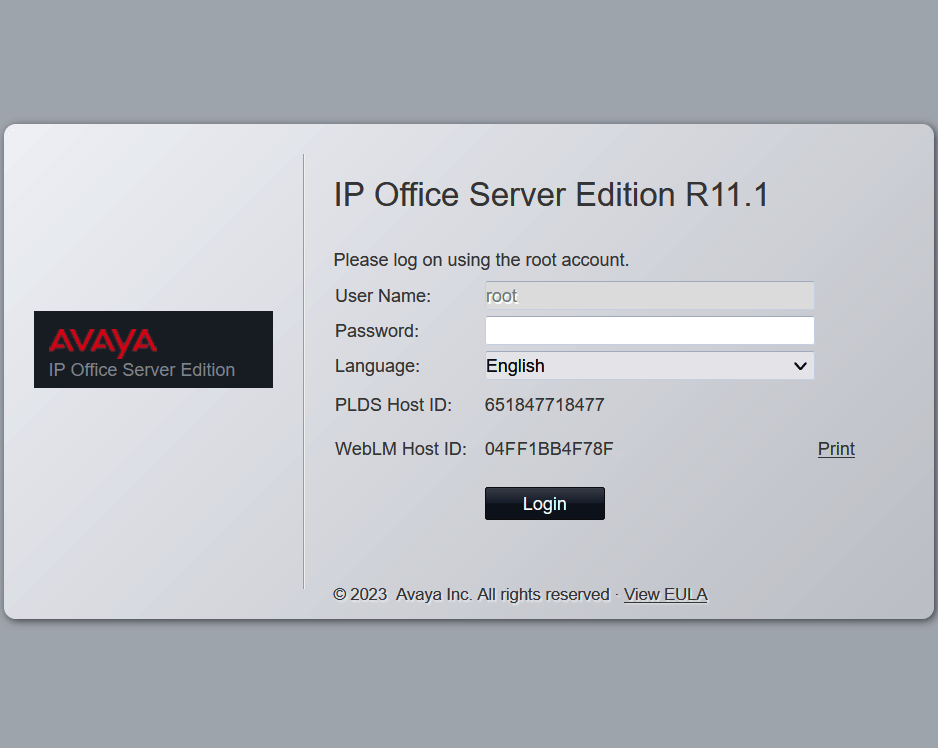
- Enter the address https://192.168.42.1:7071
Default user/password: root / Administrator
Note the WebLM ID and PLDS ID values displayed on the login menu.
These are required for licensing or subscription of the server.
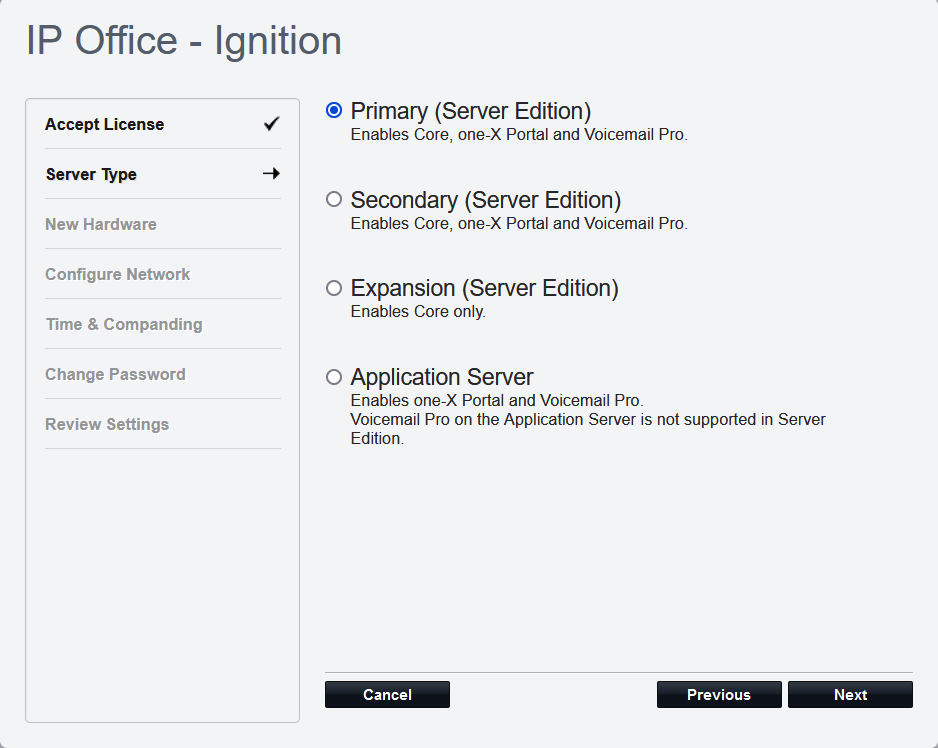
- Select the Server Type: "Primary"
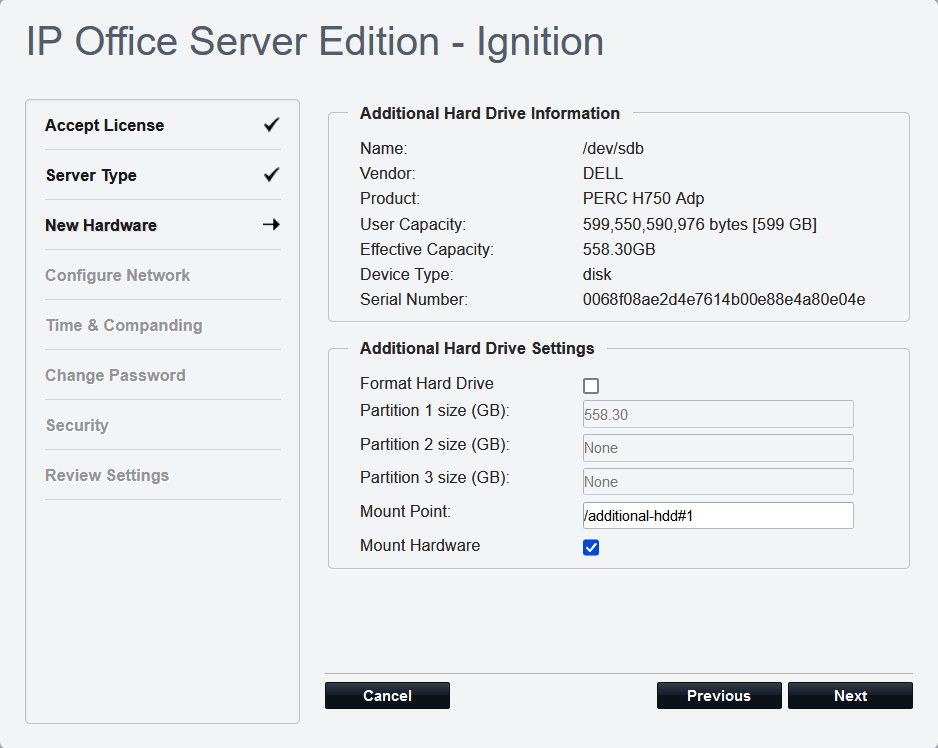
- It's not necessary to format HD
- Select Mount Hardware, note the Mount Point path settings
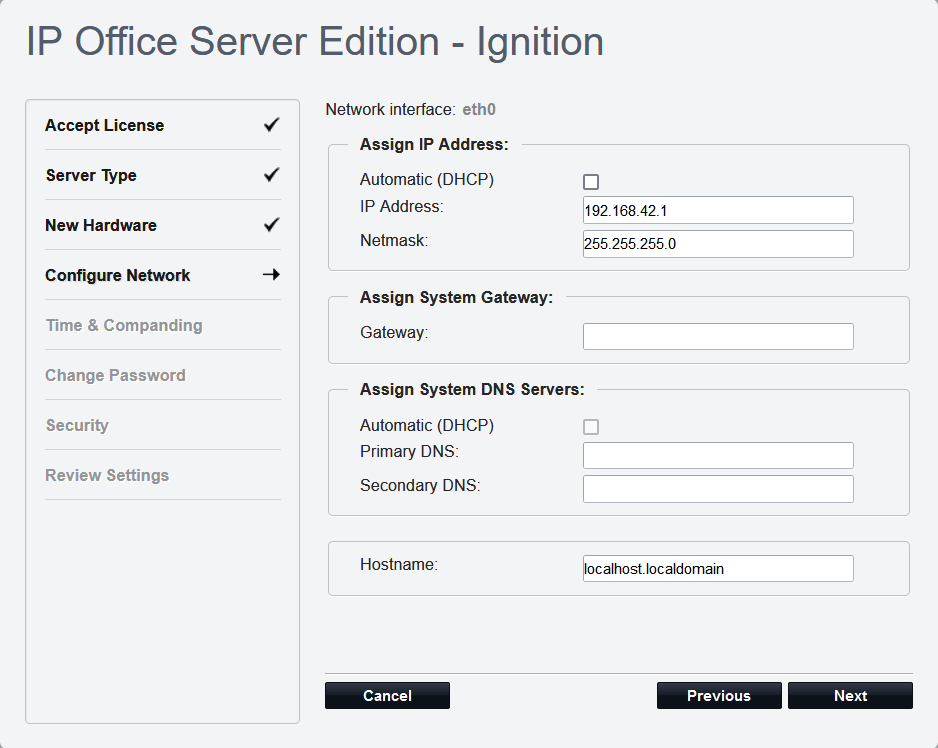
- Configure network and hostname (must be unique)
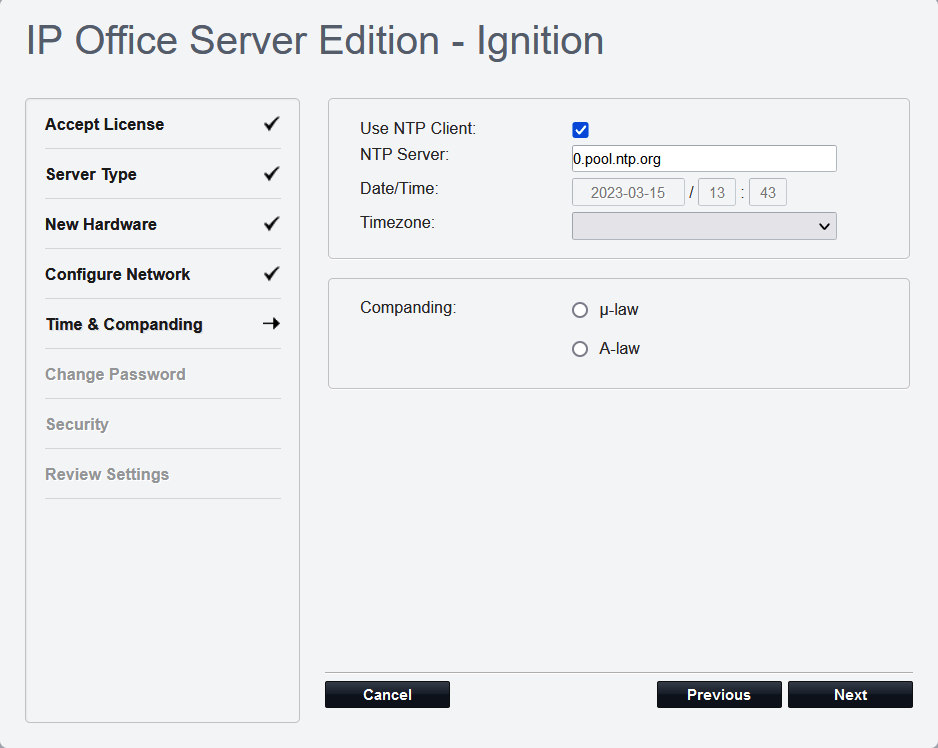
- Select Use NTP and set the Timezone, NTP is required (for licensing)
- Select the Companding mode: μ-law = North America, A-law = Europe
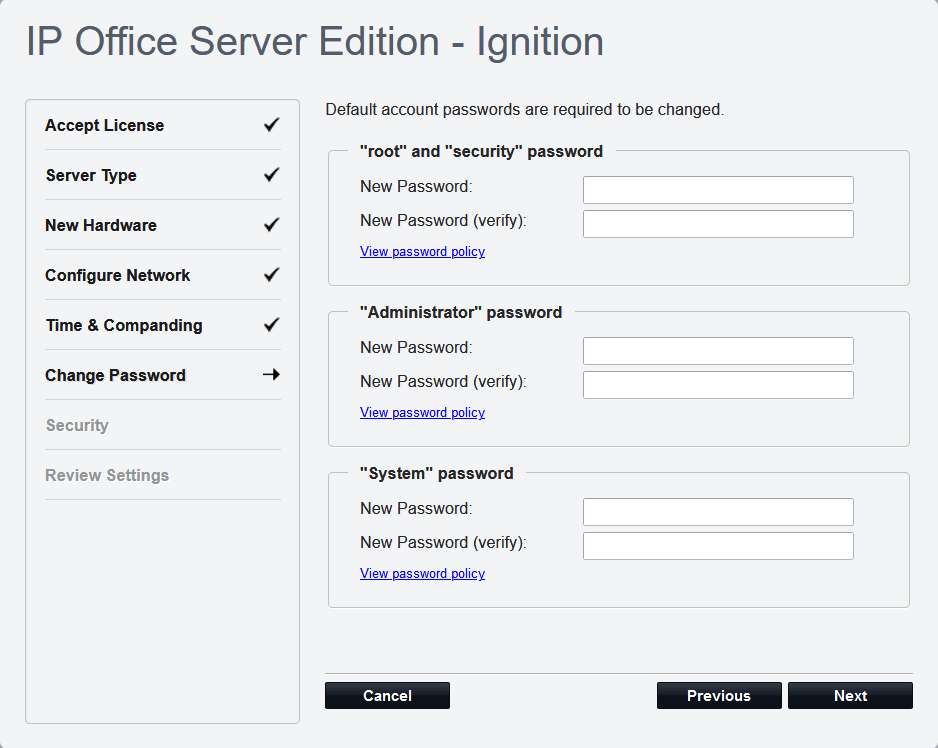
- Passwords: it's recommended to use the same passwords on all servers
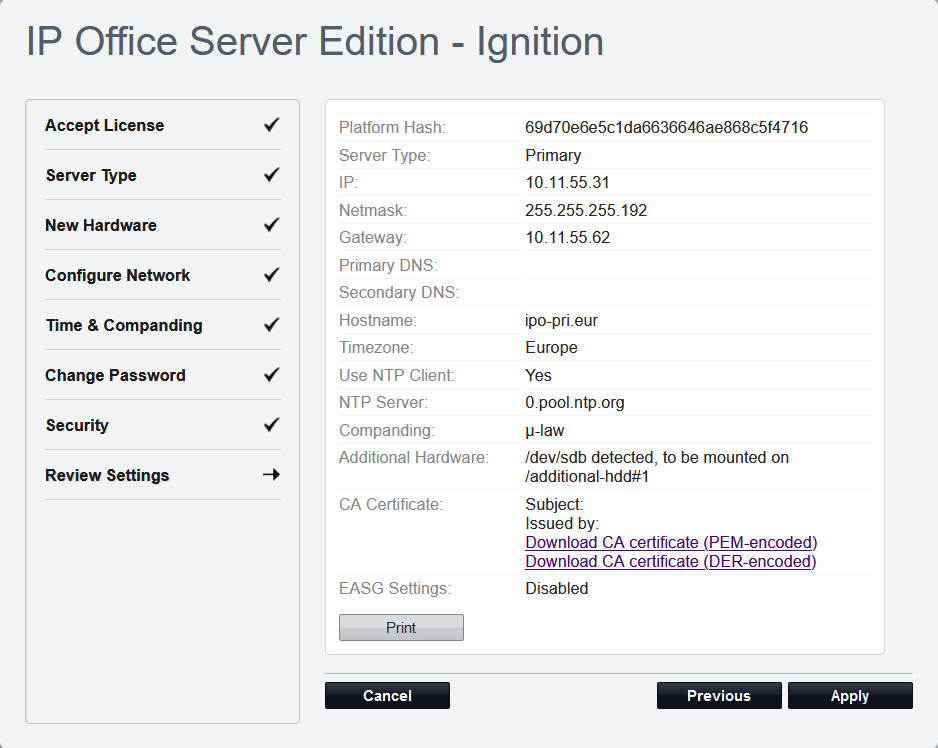
When ignition is complete, open Manager, open the Primary <Server_IP_Address> (entered above)
Login with Administrator and the new admin password (entered above)
In the popup, set System Name, LAN1 IP address, proposed Secondary Server IP address & "WebSocket Password".

Save, server reboots.
2. Apply PDSL license
- Connect to the Web License Manager: https://<Server_IP_Address>:52233/weblm
- the Web LM doesn't seem to be Firefox compatible, but it works fine with MS Edge. - Login with admin / weblmadmin - you will be prompted to change the password.
- Login again with the new password, and click Install license.

- Click Choose File. Browse to and select the PLDS XML file.
- Accept the License Terms & Conditions, and click Install.
- Click Licensed product > IPO > IP_Office, and confirm new features.
3. "Ignite" the secondary:
- Open a web browser on a PC on the same network as server.
- Enter the address https://192.168.42.1:7071
- Select the Server Type: "Secondary", enter IP addresses, time zone, etc.
- Follow prompts, save, server reboots.
When ignition is complete, open Manager, open the Primary <Server_IP_Address>
In the Secondary Server initialise popup, set System Name, LAN1 IP address, Primary Server IP address & "WebSocket Password".
Save, server reboots.
4. Introduce Secondary to Primary server
Secondary Server must have been "Ignited" as a secondary server.
- Using Web Manager or Manager, log in to Primary, and click Solution.
- Select Configure > Add System to Solution.
- Select Secondary server.
- Click Discover, Next...
- Click File > Save Configuration
On first login to Primary you will be prompted to Reconsolidate, do this, and Save.
Further configuration is done either in Manager, or Web Manager, using the primary server IP address.
| IP Office Manager: | https://<Server_IP_Address> |
| IP Office Web Manager: | https://<Server_IP_Address>:7070 |
| Server Web Control: | https://<Server_IP_Address>:7071 |
Add IP Office Gateway(s):
- Open Manager, open the IP500
(192.168.42.1) - Initial configuration popup, change passwords
- Select Mode → Server Edition Expansion, and Save

- Enter: System Name, (LAN1) IP address, Server Edition Primary/Secondary IP address, and the "Web Socket Password"
(Check DHCP Disabled in order to change IP address)
- Click Save, the IP Office will reboot
- Again in Manager, open the Primary <Server_IP_Address>
- Click Solution, under "Expansion System" (right pane), click Add

- Enter the IP500 (LAN1) <IP address> in the box.
- Click OK, and Save.
Unconfigured digital sets, plugged into a DS port, will display an ID # in the display
- assign a Base Extension and User to this Gateway ID # in Manager to activate the phone
Licensing is handled by the Primary server, and automatically distributed as required.