J179 IP Phone setup
The Avaya J139, J169 & J179 IP Phones are SIP devices!
- Avaya SIP desk phones require Avaya IP Endpoint licenses.
- 3rd-party SIP telephones require 3rd Party IP End-points licenses.
IP Office settings:
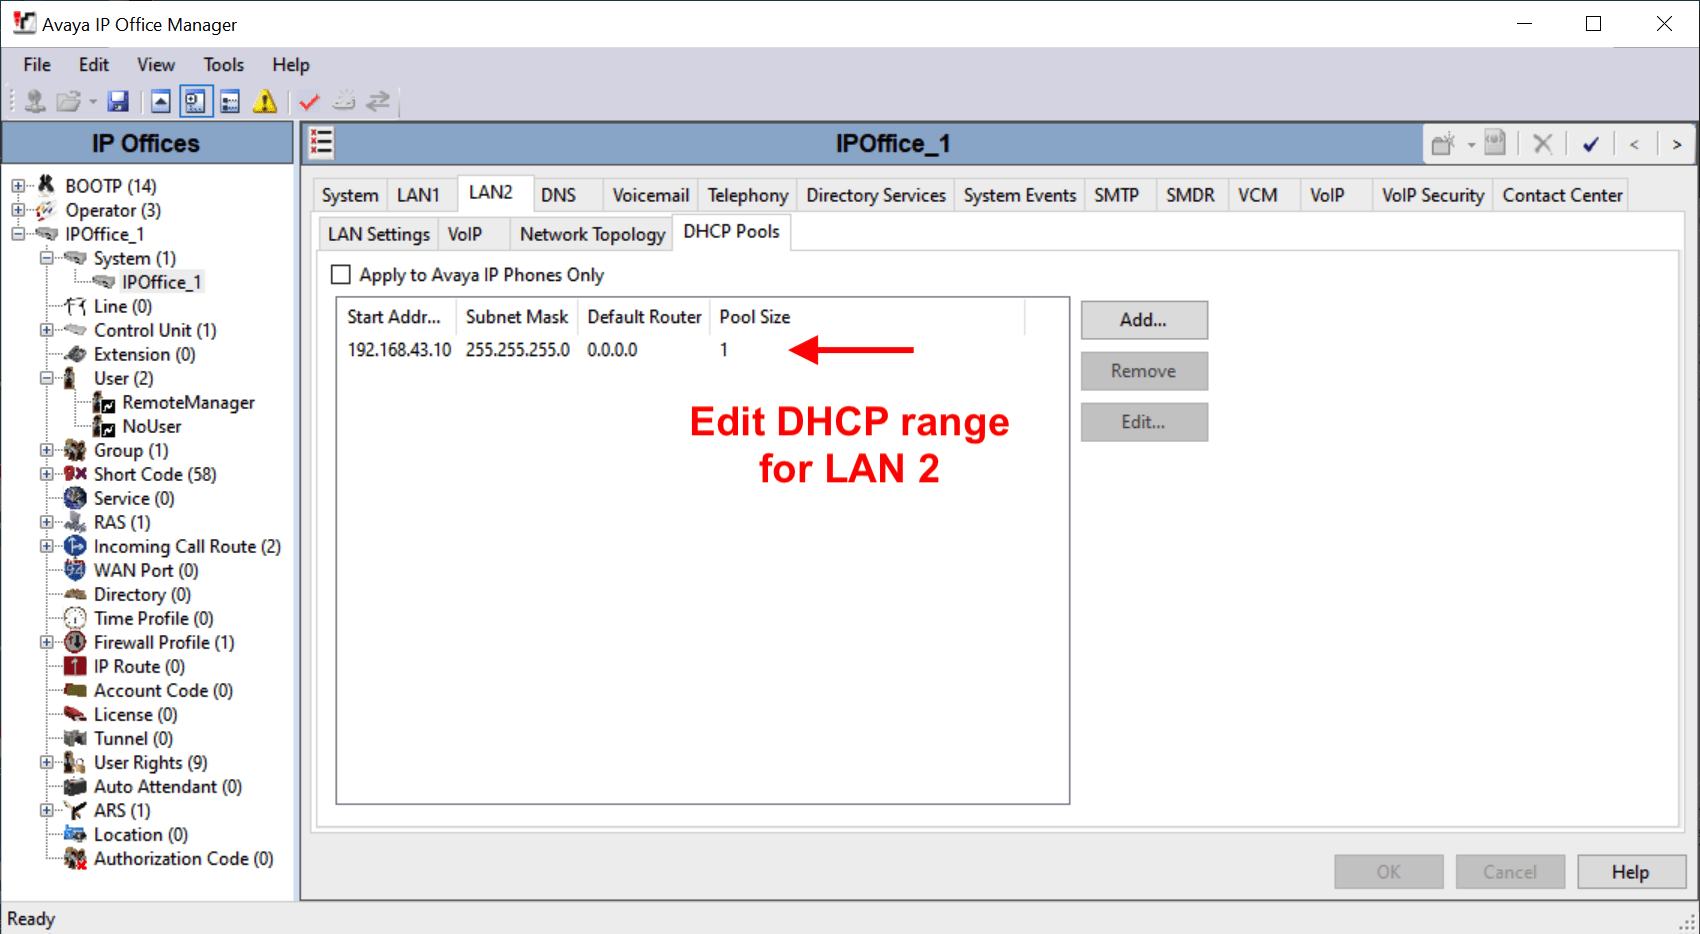
Use the WAN (LAN2) port for IP phones (and SIP trunks).
The WAN port will often be connected to a data switch or router, and the LAN port (LAN1) reserved for admin access.
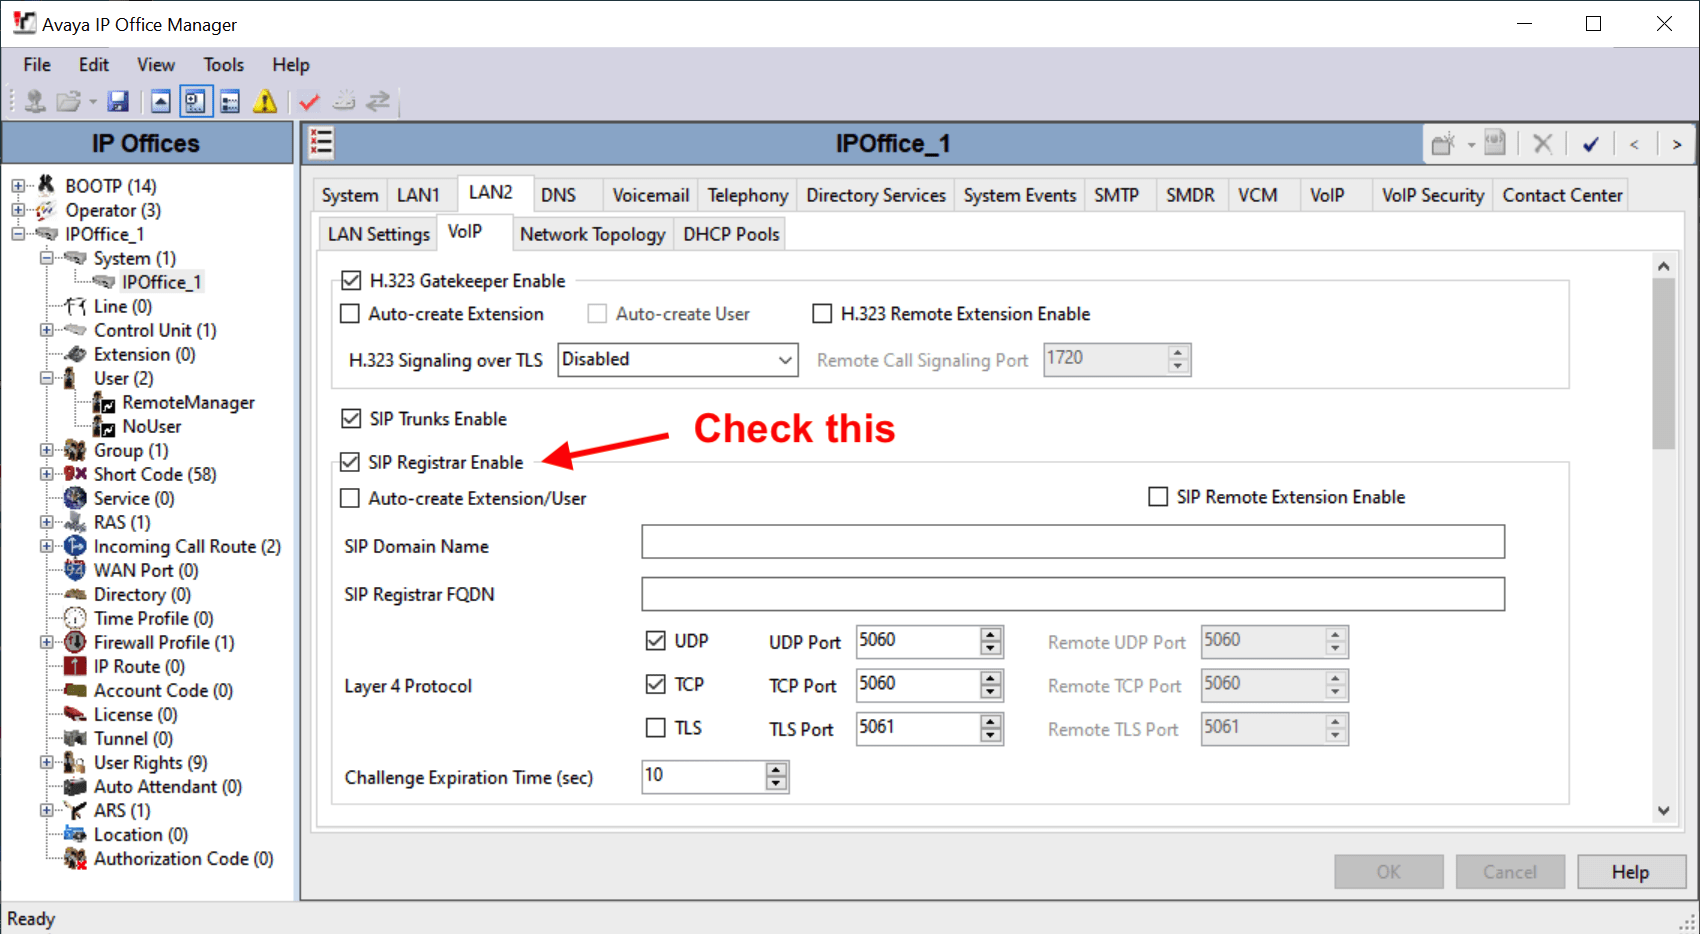
- Enable DHCP, set start address, enable SIP Registrar
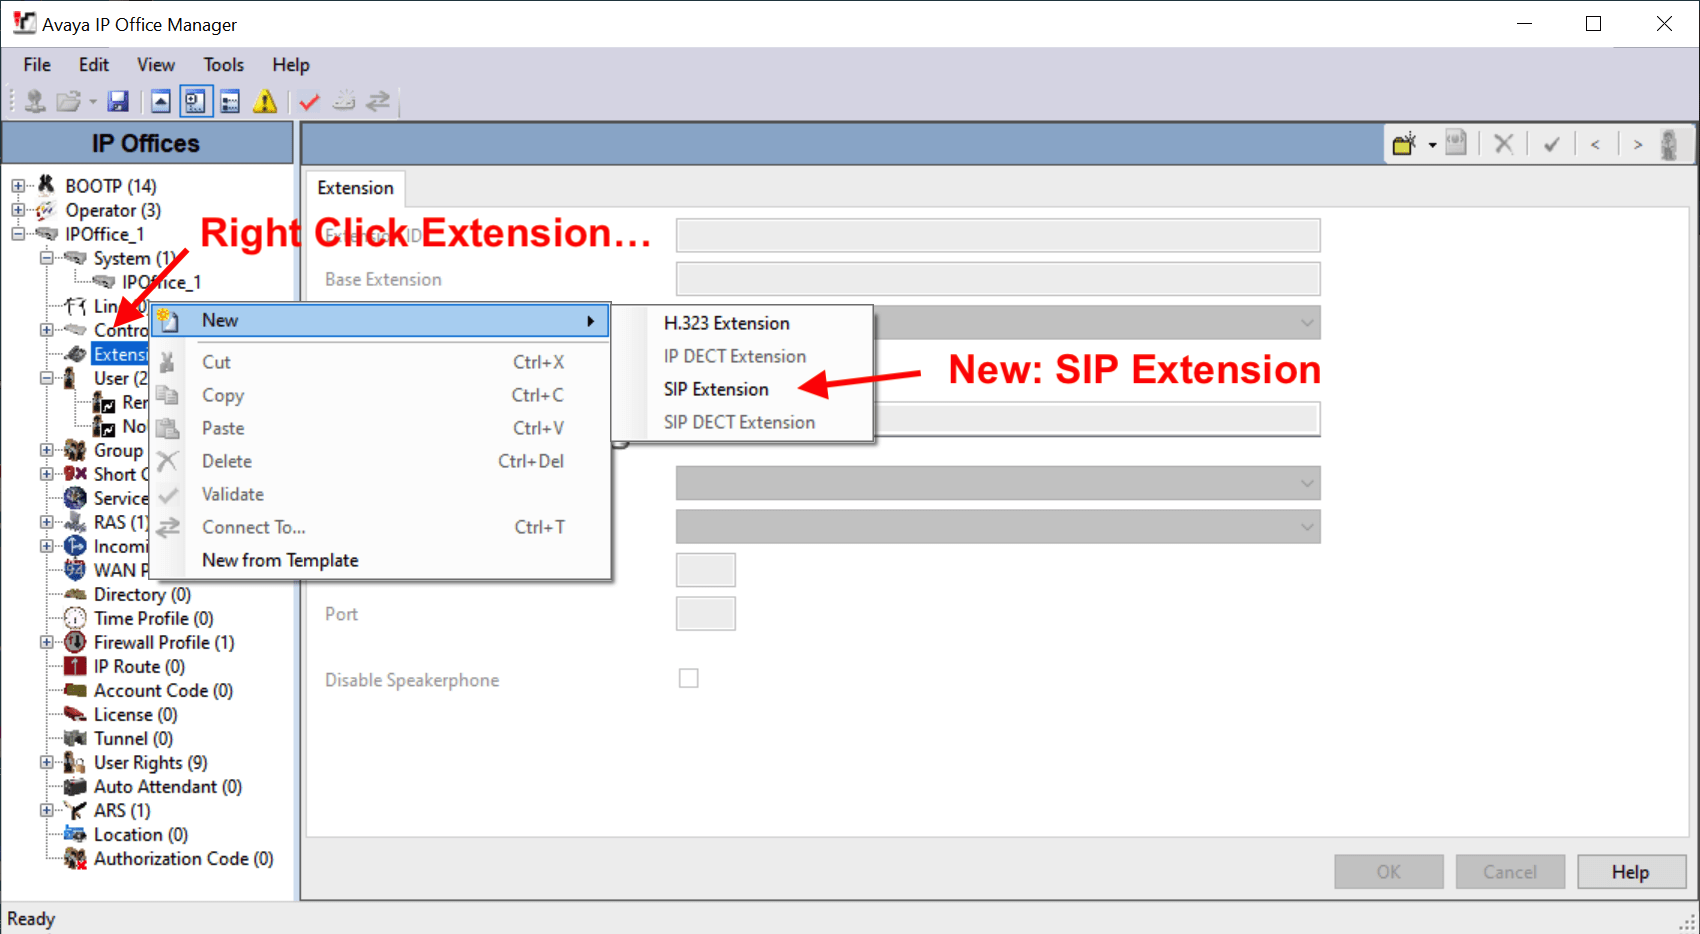
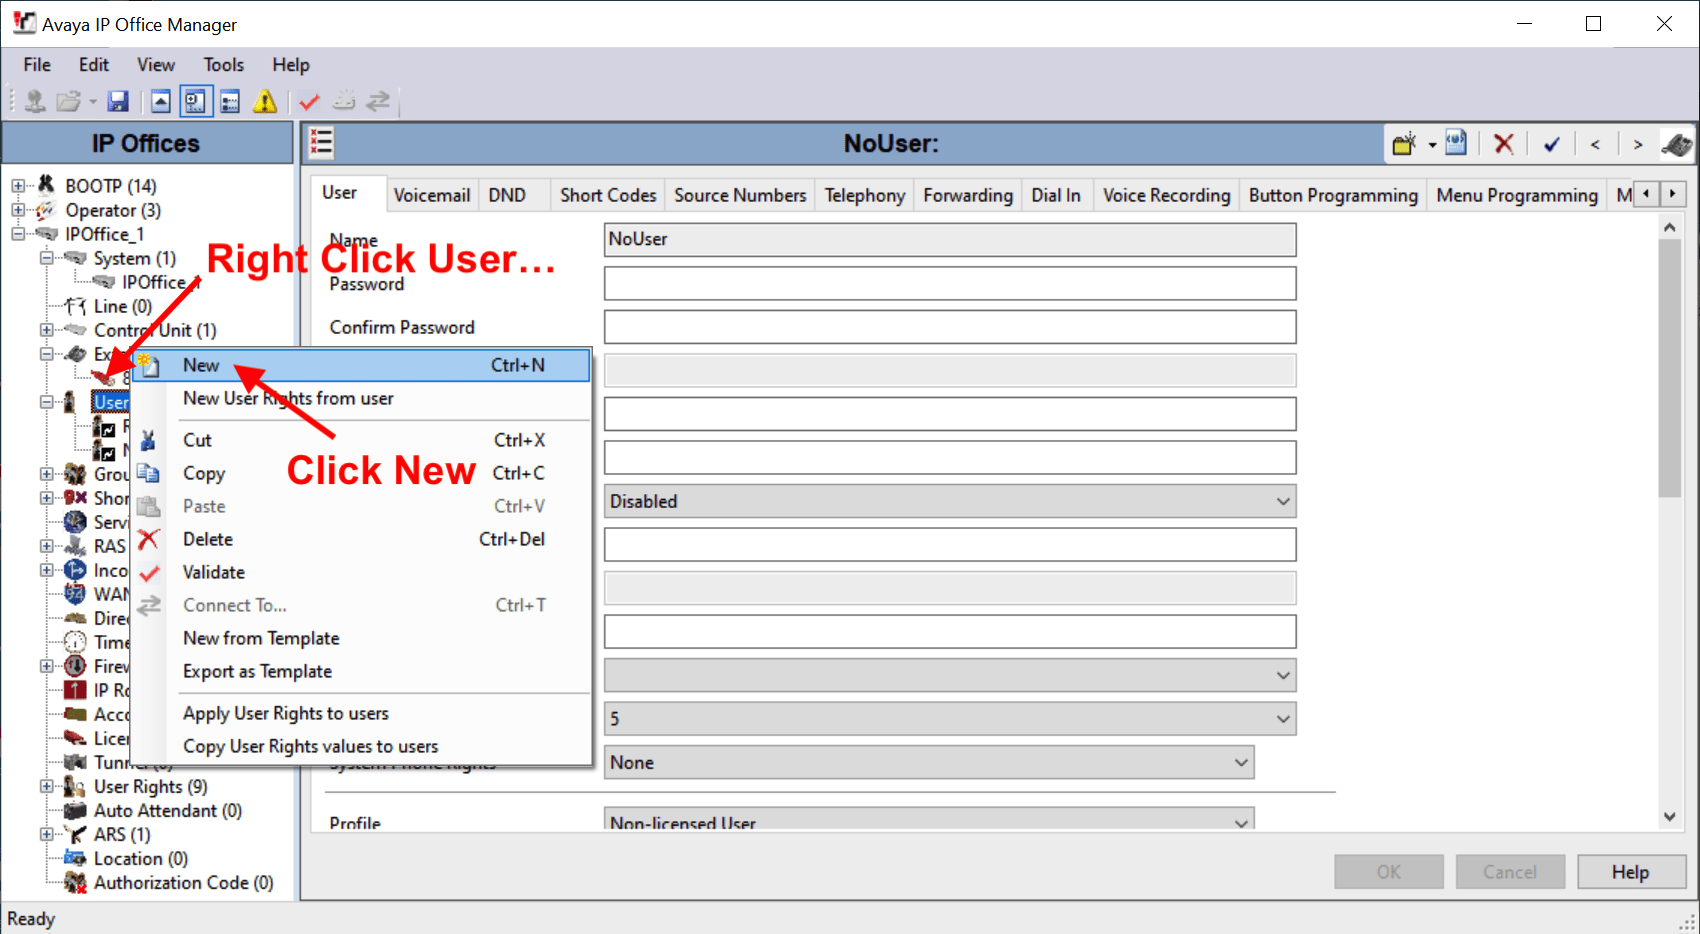
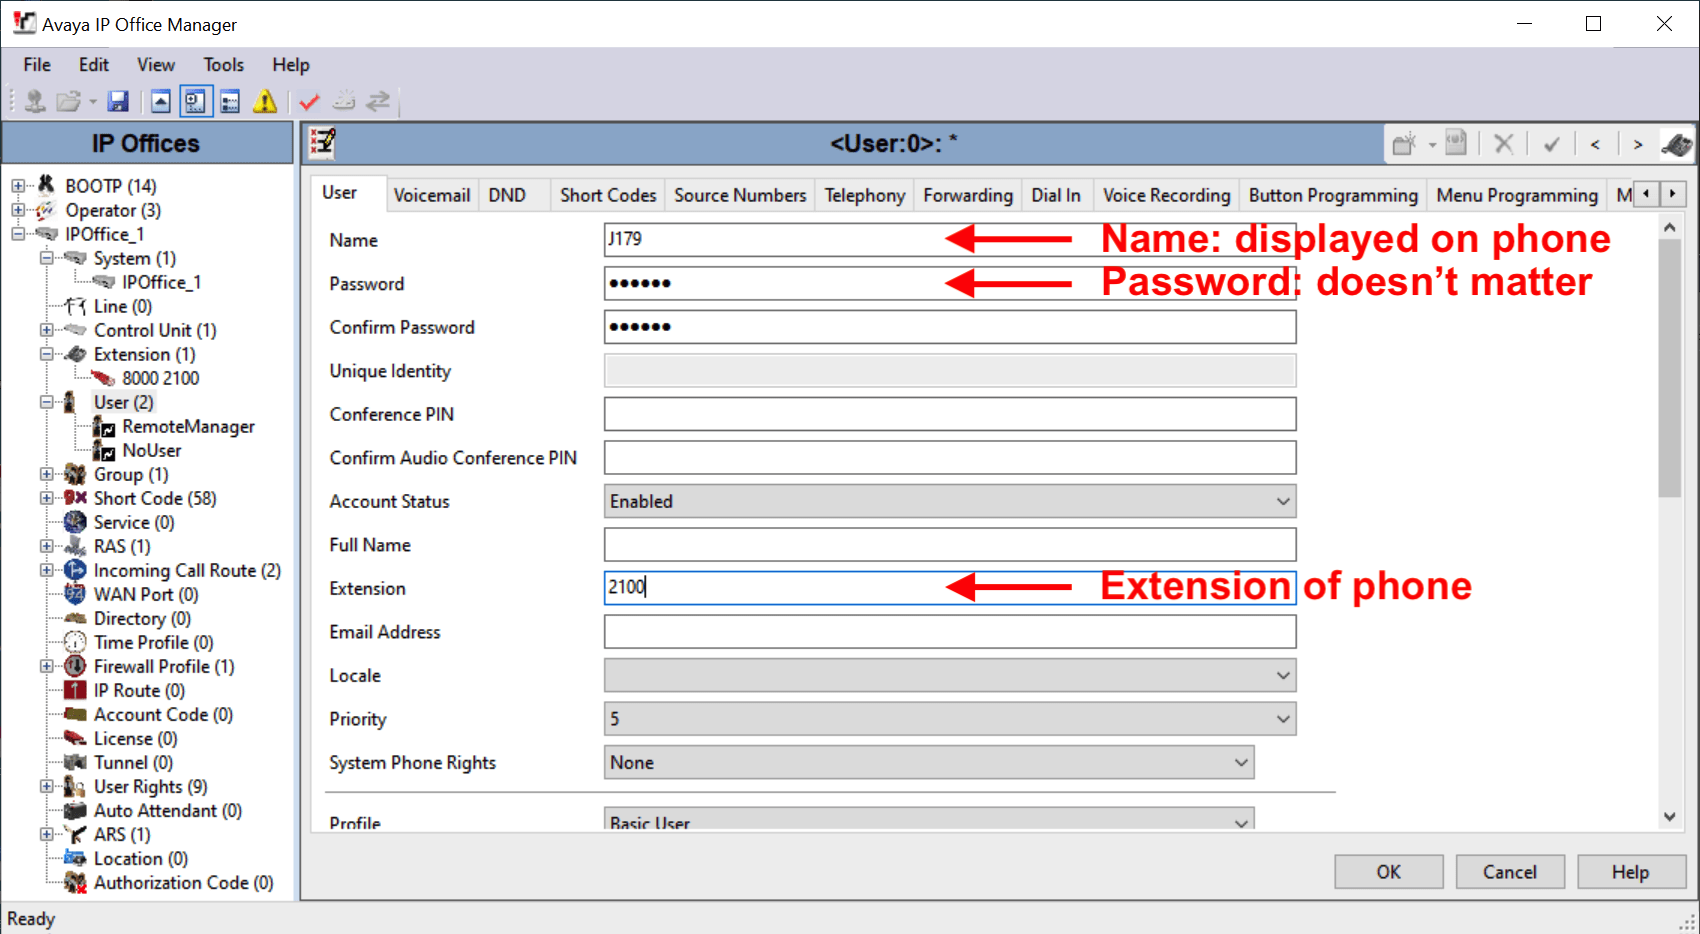
- Create a new SIP extension, with number and password
- Create a new user, and associate with the new extension
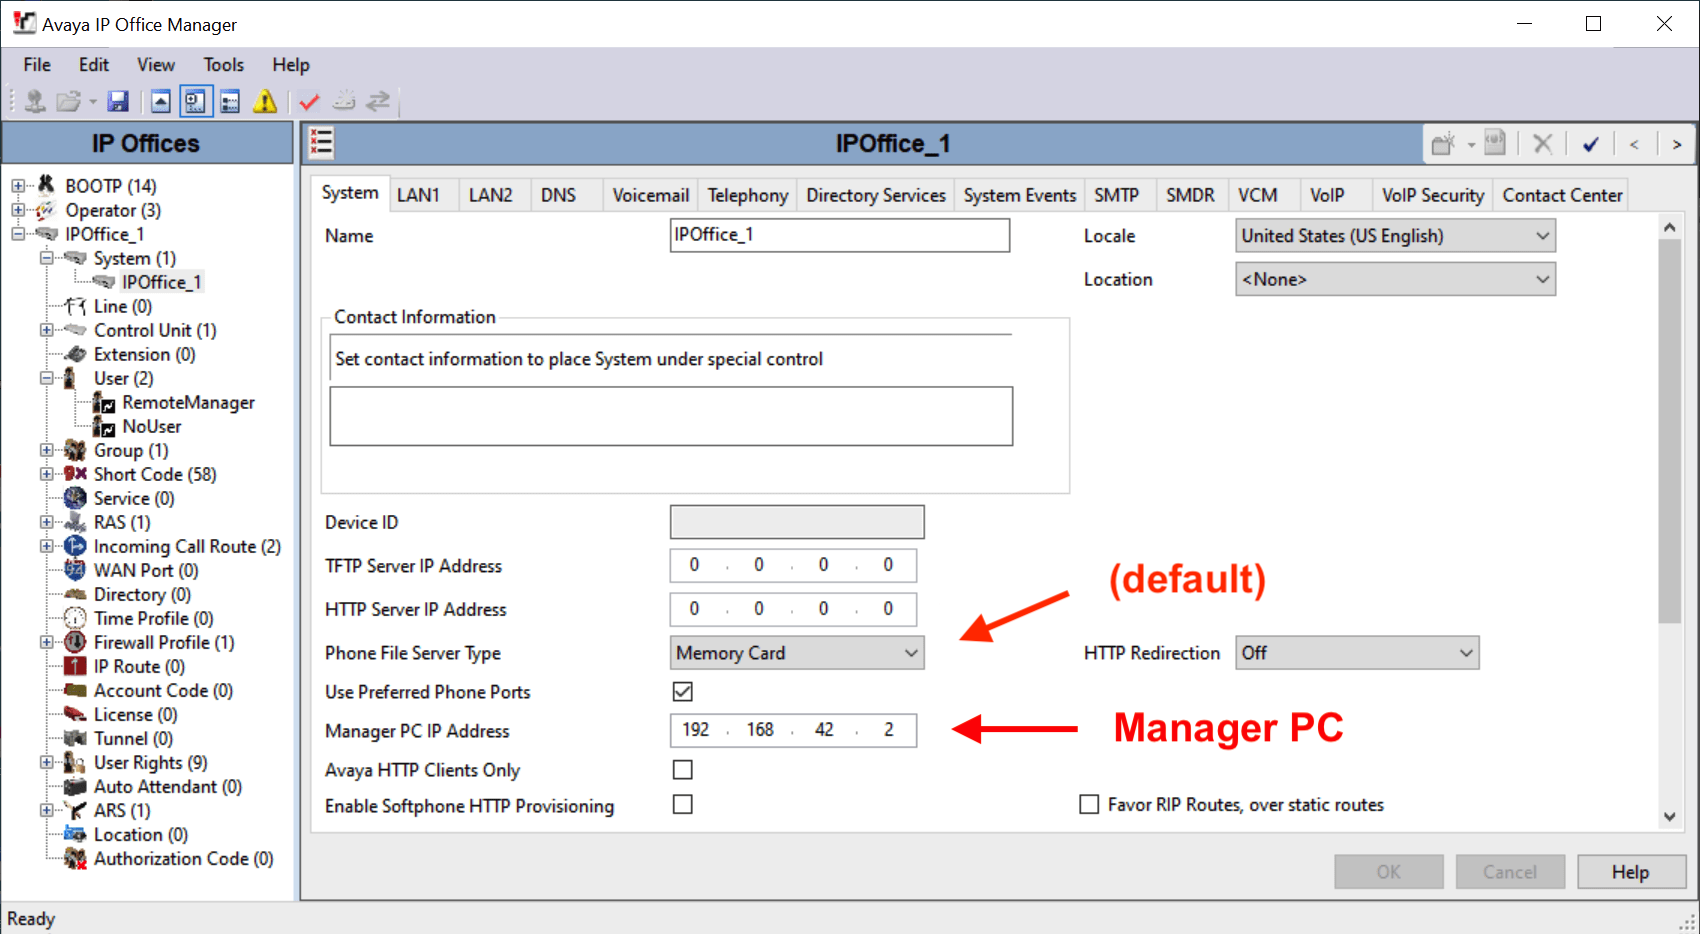

IP set configuration files can be served from a specified TFTP/HTTP server, or from the internal Memory Card (default).
If 'Memory Card' (default) is set, but no custom files are provided, configuration is dynamically generated on registration.
Phone settings:
Login is ADMIN, Password is 27238 (CRAFT)
- Select IP Configuration ➤ Servers:
- Enter HTTP Server: 192.168.43.1
- Ethernet IPv4: Set to DHCP on - Back out and the phone will restart.
A new phone will have to download firmware updates - DO NOT interrupt this!
If you see "login", it works. If you see "acquiring service", something is wrong. - Login with the 'Base Extension' and 'Phone Password' (slide 5)
Power Supply:
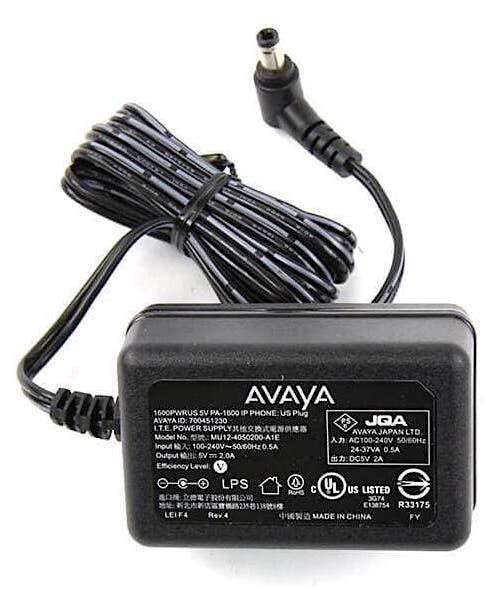
J179 phones are usually powered by Power Over Ethernet (POE), eg. power is provided through the network cable. When POE is not available, the phone can be powered by a 5VDC, 2 Amp (12W) external power adapter (wall wart), with a round barrel plug. The center pin is positive.
The following order codes are applicable for the J139, J159, J169, & J179 phones;
- 700512377 | Power adapter, 5V 12W, US plug
- 700513357 | Power adapter, 5V 12W, EU plug
- 700513359 | Power adapter, 5V 12W, UK plug
Note: This is the same power adapter used by the Avaya 1600 series phones.